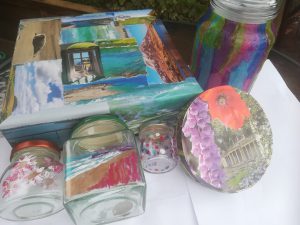
If you’ve got any boxes or jars at home why not give them a bit of a makeover using whatever you can find around the house?
Painted Jars
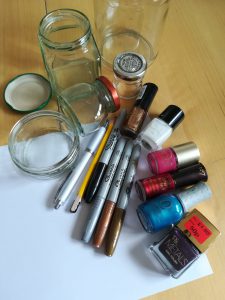
You will need:
- Nail varnish
- Permanent marker pens
- Paper (to plan your designs before you start)
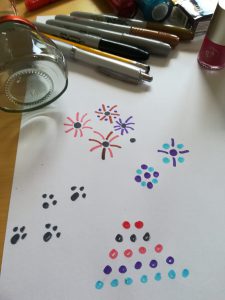
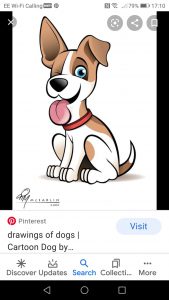
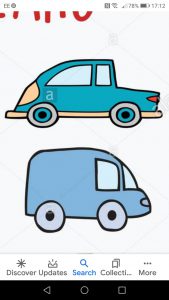
These are some ideas I drew for designs, though I’m sure you can think of some of your own.
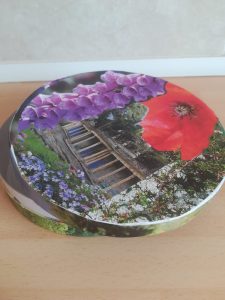
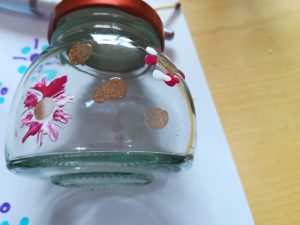
I decided to paint a flowers on my first jar. (NB. If you use nail varnish make sure you’re in a well ventilated room as it can have a powerful smell!)
I started with a blob of brown for the centre then added pink and white blob dots for the petals. I had a happy accident where the pink and white started running into each other so I used a matchstick (or you could use a cocktail stick) to blend in the two colours. Leave to dry lying down flat to avoid any paint runs you don’t want!
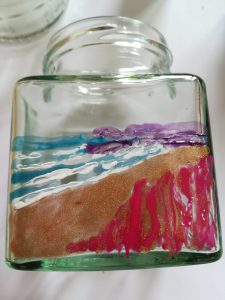
Next I made a beach jar. If you are not confident at drawing then find an image that will fit into the jar and blu tack it to the inside to follow the lines.
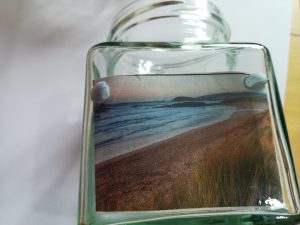
I started with purple for the rocks and hills (it was all I had) and then blue for the sea.
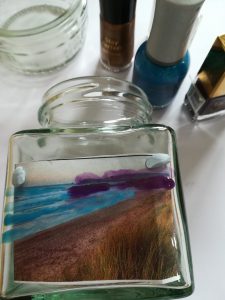
When the blue was getting tacky-dry I added white for the waves. Gold brown for the beach and pink for the sand grass, again “make do and mend” as they were the only colours I had.
For this dottie jar I just painted random dots of different colours. The nail varnish wasn’t put on too thickly so I could stand it up to dry.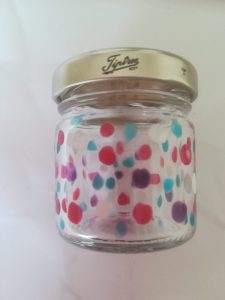
Tissue Paper Covered Jars
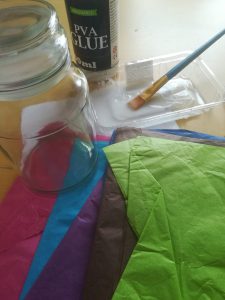
For this you’ll need:
- Jar or container to cover
- Watered down PVA glue
- Tissue paper
- Paintbrush (you’ll need to clean it afterwards!)
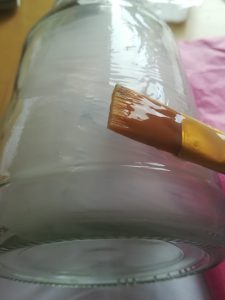
Paste the watered down PVA glue onto the jar a section at a time.
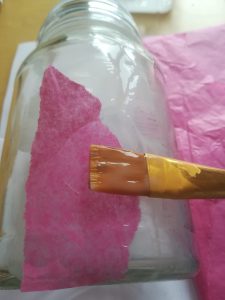
Rip or cut shapes of tissue paper to lay over the surface, guiding with the brush. It doesn’t matter if you get glue on the top of the paper as it will act as a protective varnish.
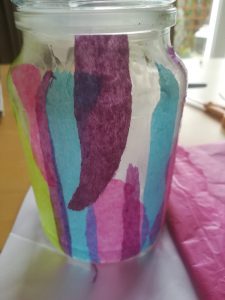
Keep layering the paper (look how the colours change when layers are attached) brushing on with the paintbrush. I used a smooth edge for neatness at the base and top edge.
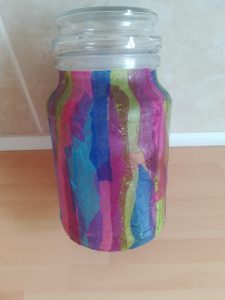
When dry I might add some decoration with paint or rubber stamping or maybe sticking bits and bobs on it.
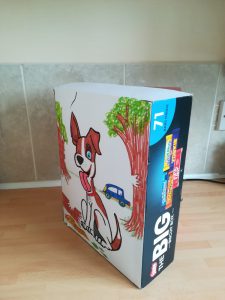
Covered Boxes

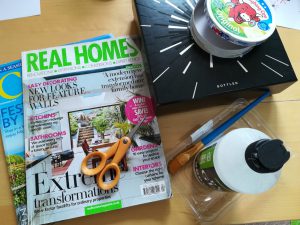
You will need:
- Item to cover (I used an aftershave box and a cheese triangle box)
- PVA glue
- Old magazine or wrapping paper, tissue paper, newspaper etc
- Paintbrush
- Scissors
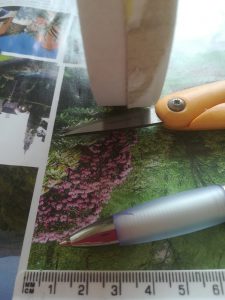
I like the effect of ripped edges so did this for mine but its personal choice. Gather together the photos from the magazine (or the paper you are using to decorate).
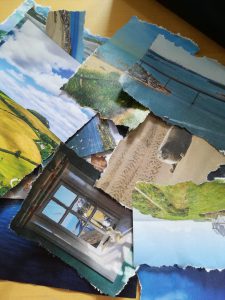
Here’s how I ripped the paper – just tear it and keep pulling towards you, slightly moving from side to slide to give it a wiggle effect.
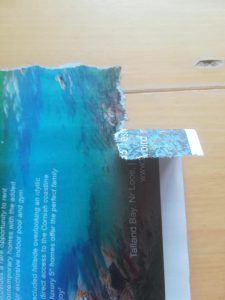
Start gluing the photos to the box. It doesn’t matter if it’s higher than the side of the box as this can be folded over to the top.
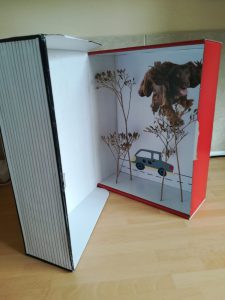
This image went round the corner of the box, which was then cut to fold over to the top.
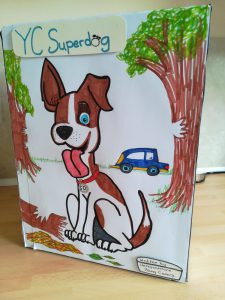
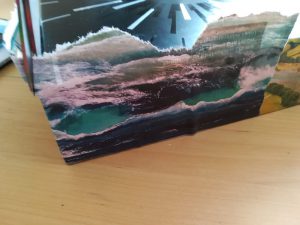
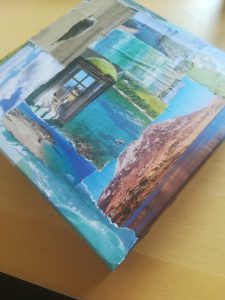
Keep gluing and layering the photos to cover the box.
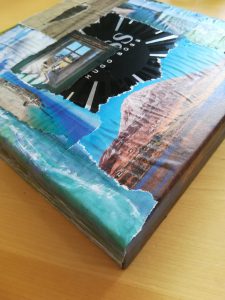
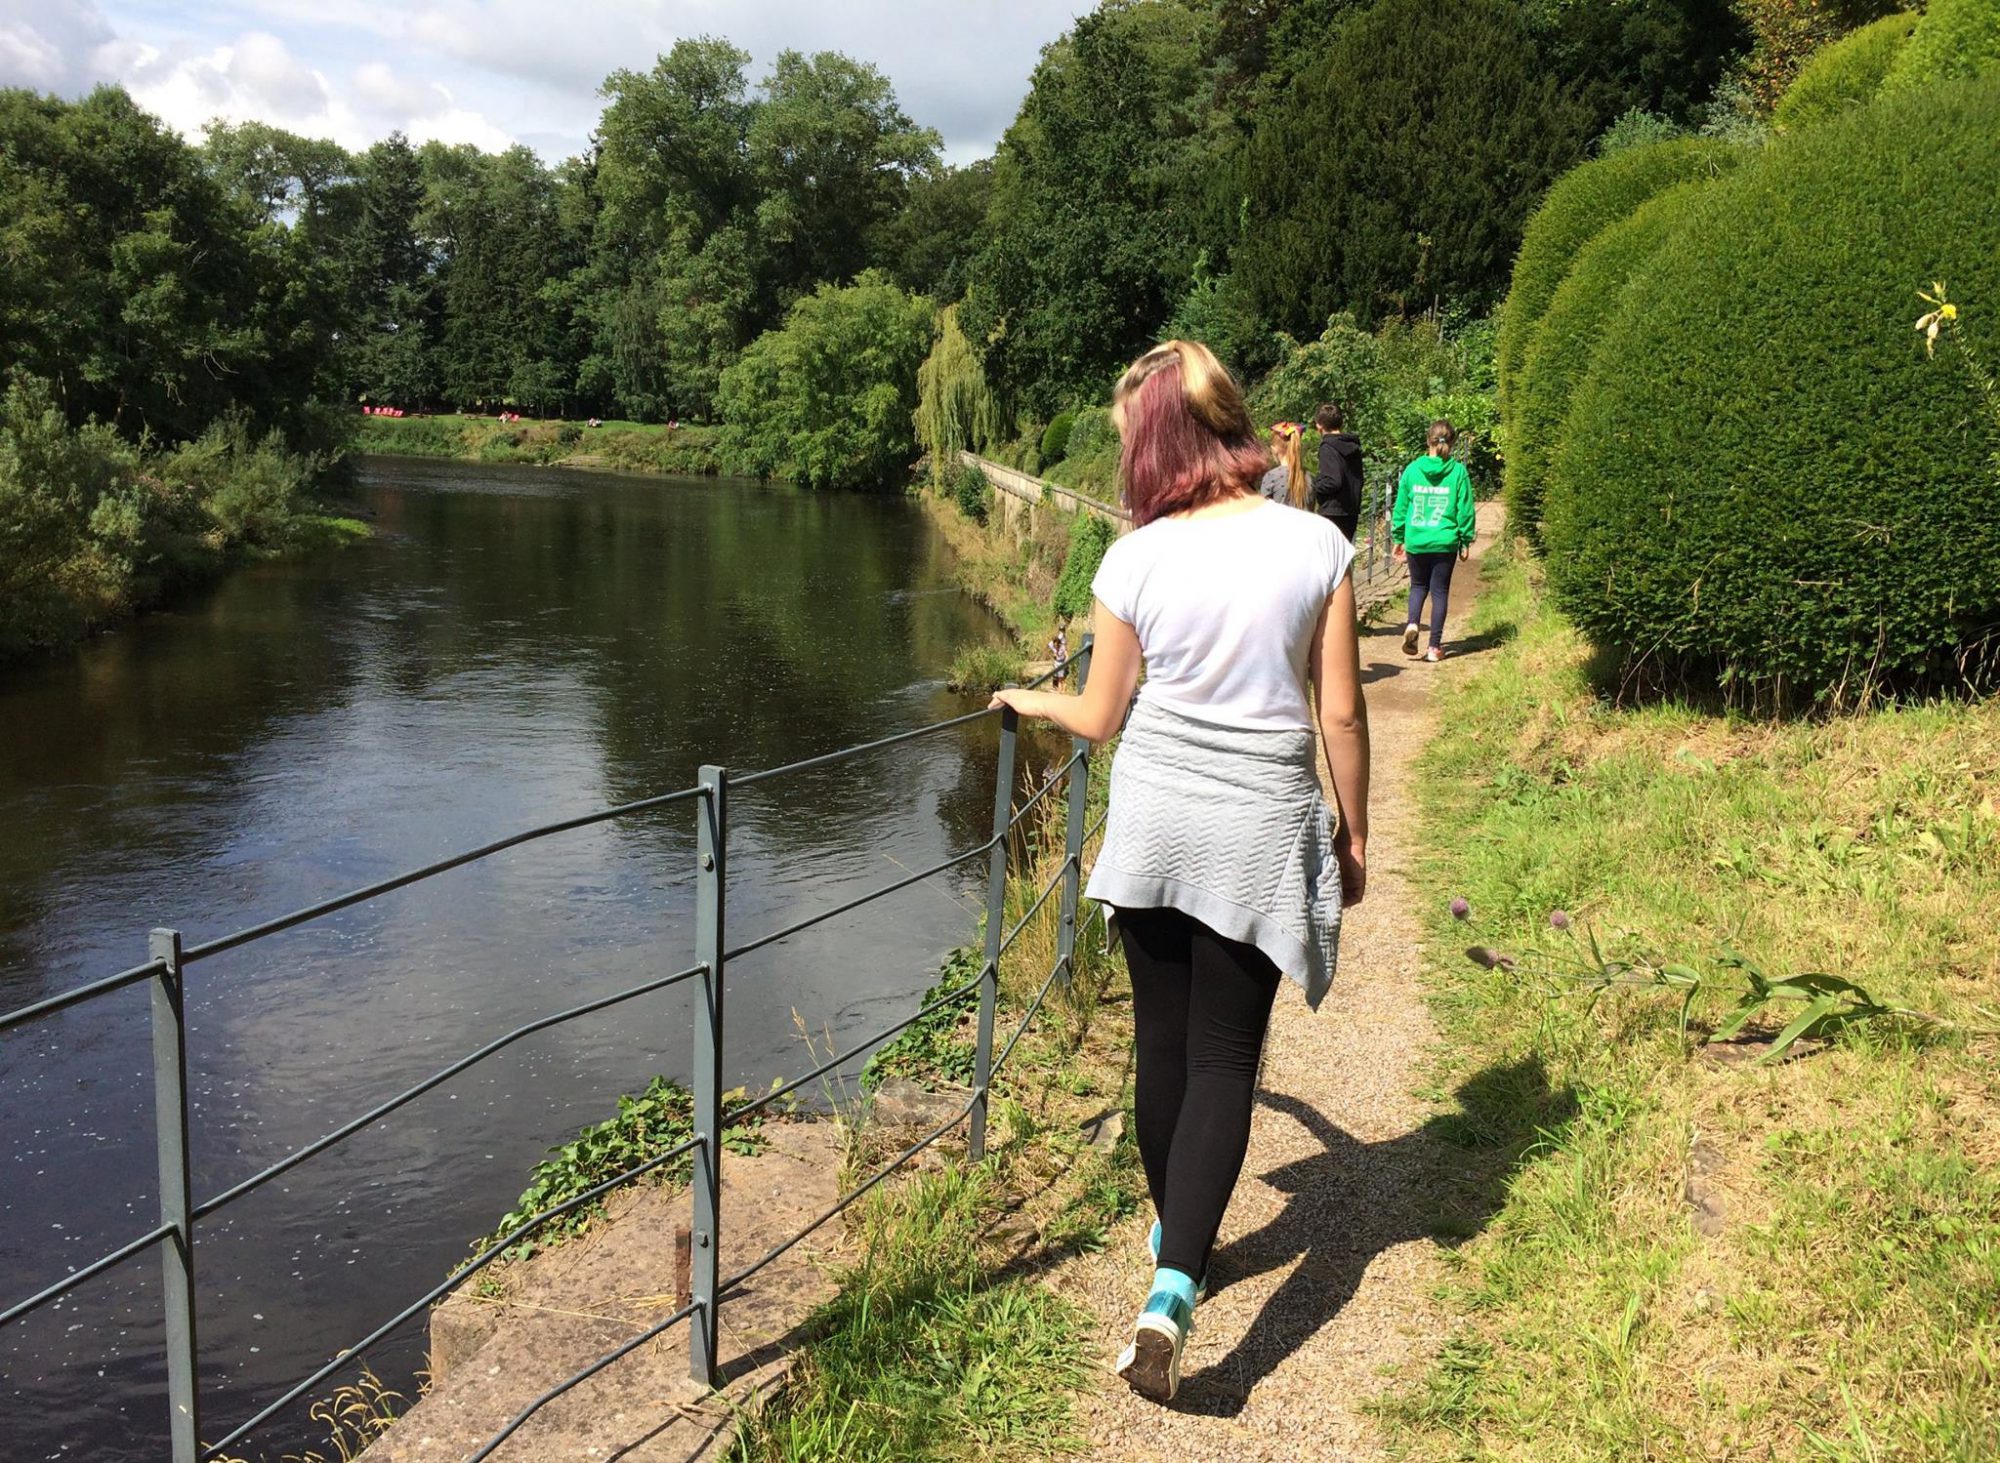
Cover the box with more PVA glue to seal the paper and protect it then leave to dry.
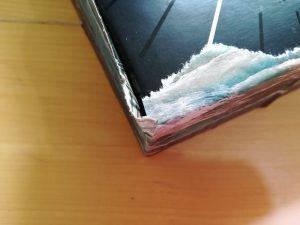
The cheese triangle box was covered in the same way. I did take more care on the measurements to fit round the lid edge and base. As this was quite small I glued the box and then put the paper on.
I used the lid to draw round on the image I had chosen, then cut it out.
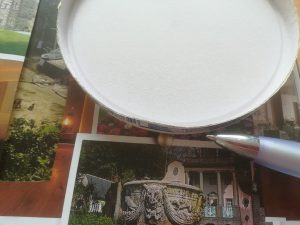
Cut off the bits of image you don’t need.

Brush PVA glue all over the finished layered images to protect it.