
I used fabric to make mine but you could use paper or light card.
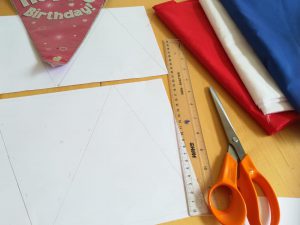
I drew the shape on paper a few times then pinned it to the fabric. I had mine double layered but if you don’t feel comfortable doing that then do one at a time. Cut out the pinned shapes.
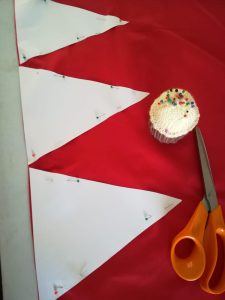
The gaps in between the paper make more bunting flag shapes so cut those out too.
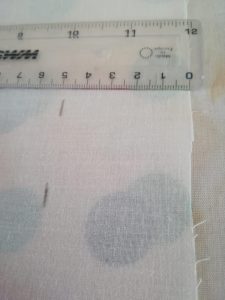
To make the heading tape, measure 5 cm width strips, making them as long as the finished tape you need. This will probably need to be joined to make it longer and I’ll explain that in a while.
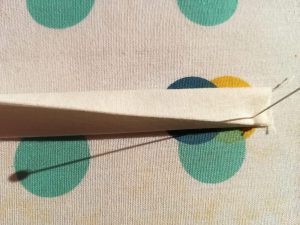
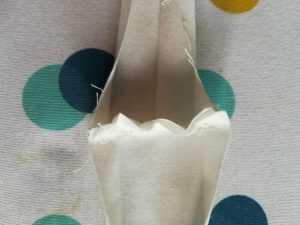
With the heading tape fabric strips, fold and iron in half, like on the photo:

This is how the heading tape is made. You can buy ready made tape or use ribbon which would need no folding or ironing.
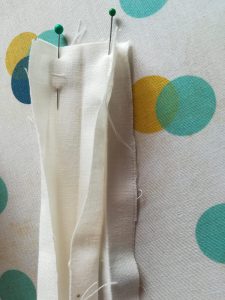
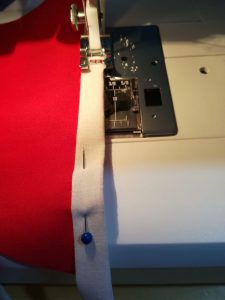
Joining the strips of heading tape together to make a longer length. Put your prepared fabric right sides together, flat with no turn in, pin and sew to join.
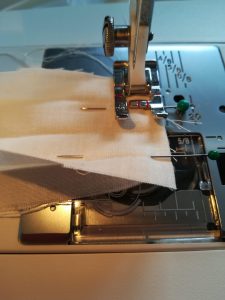
If the pins in the fabric go across ways, like in the photo, the sewing machine needle will run over them fine. Remove pins when finished.
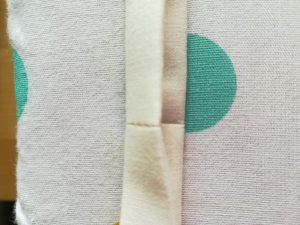
It should look like this:
Press with the iron to get it back to the folded shape you need. Repeat the process for the length of bunting you need.
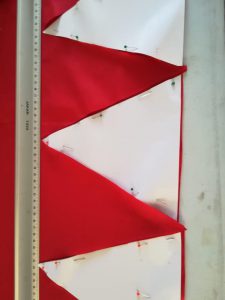
Heading tape finished. Now put the top edge of your bunting into the folded heading tape and pin. Repeat this with your all your bunting flags. If this was bunting I was going to be using a lot I would have turned the side edges in once and top stitched to keep it from fraying. Alternatively you could use scissors called “pinking shears” which have a zig-zag edge, to stop it from fraying.

Sew all your flag bunting, capturing it between the heading tape.
I fixed my finished bunting onto the gutter with washing line pegs. If standing on a ladder or steps make sure an adult is with you or better still ask if they will do it for you!